A reoccurring issue this one, and usually due to a failed backup. In my case, this was due to a failure of a Veeam Backup & Replication disk backup job which had, effectively, failed to remove it’s delta disks following a backup run. As a result, a number of virtual machines reported disk consolidation alerts and, due to the locked vmdks, I was unable to consolidate the snapshots or Storage vMotion the VM to a different datastore. A larger and slightly more pressing concern that arose (due to the size and amount of delta disks being held) meant the underlying datastore had blown it’s capacity, taking a number of VMs offline.
So, how do we identify a) the locked file, b) the source of the lock, and c) resolve the locked vmdks and consolidate the disks?

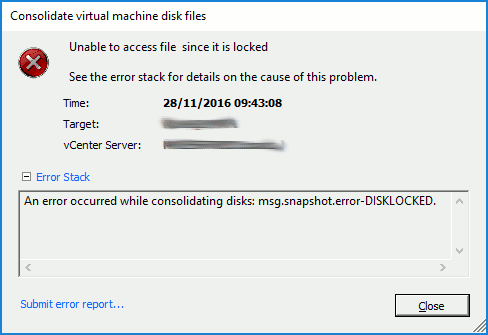
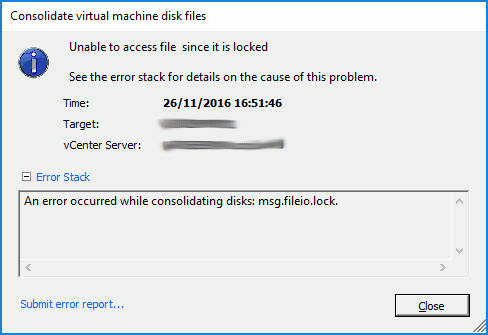
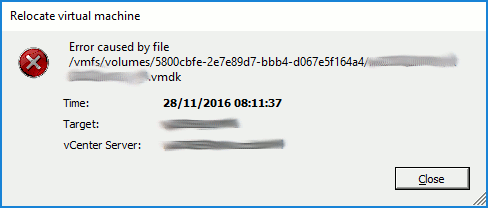
Identify the Locked File
As a first step, we’ll need to check the hostd.log to try and identify what is happening during the above tasks. To do this, SSH to the ESXi host hosting the VM in question, and launch the hostd.log.
tail -f /var/log/hostd.log
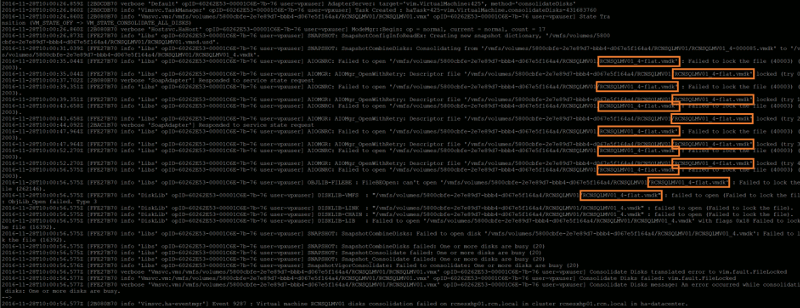
While the log is being displayed, jump back to either the vSphere Client for Windows (C#) or vSphere Web Client and re-run a snapshot consolidation (Virtual Machine > Snapshot > Consolidate). Keep an eye on the hostd.log output while the snapshot consolidation task attempts to run, as any/all file lock errors will be displayed. In my instance, the file-lock error detailed in the Storage vMotion screenshot above is confirmed via the hostd.log output (below), and clearly shows the locked disk in question.
Identify the Source of the Locked File
Next, we need to identify which ESXi host is holding the lock on the vmdk by using vmkfstools.
vmkfstools -D /vmfs/volumes/volume-name/vm-name/locked-vm-disk-name.vmdk
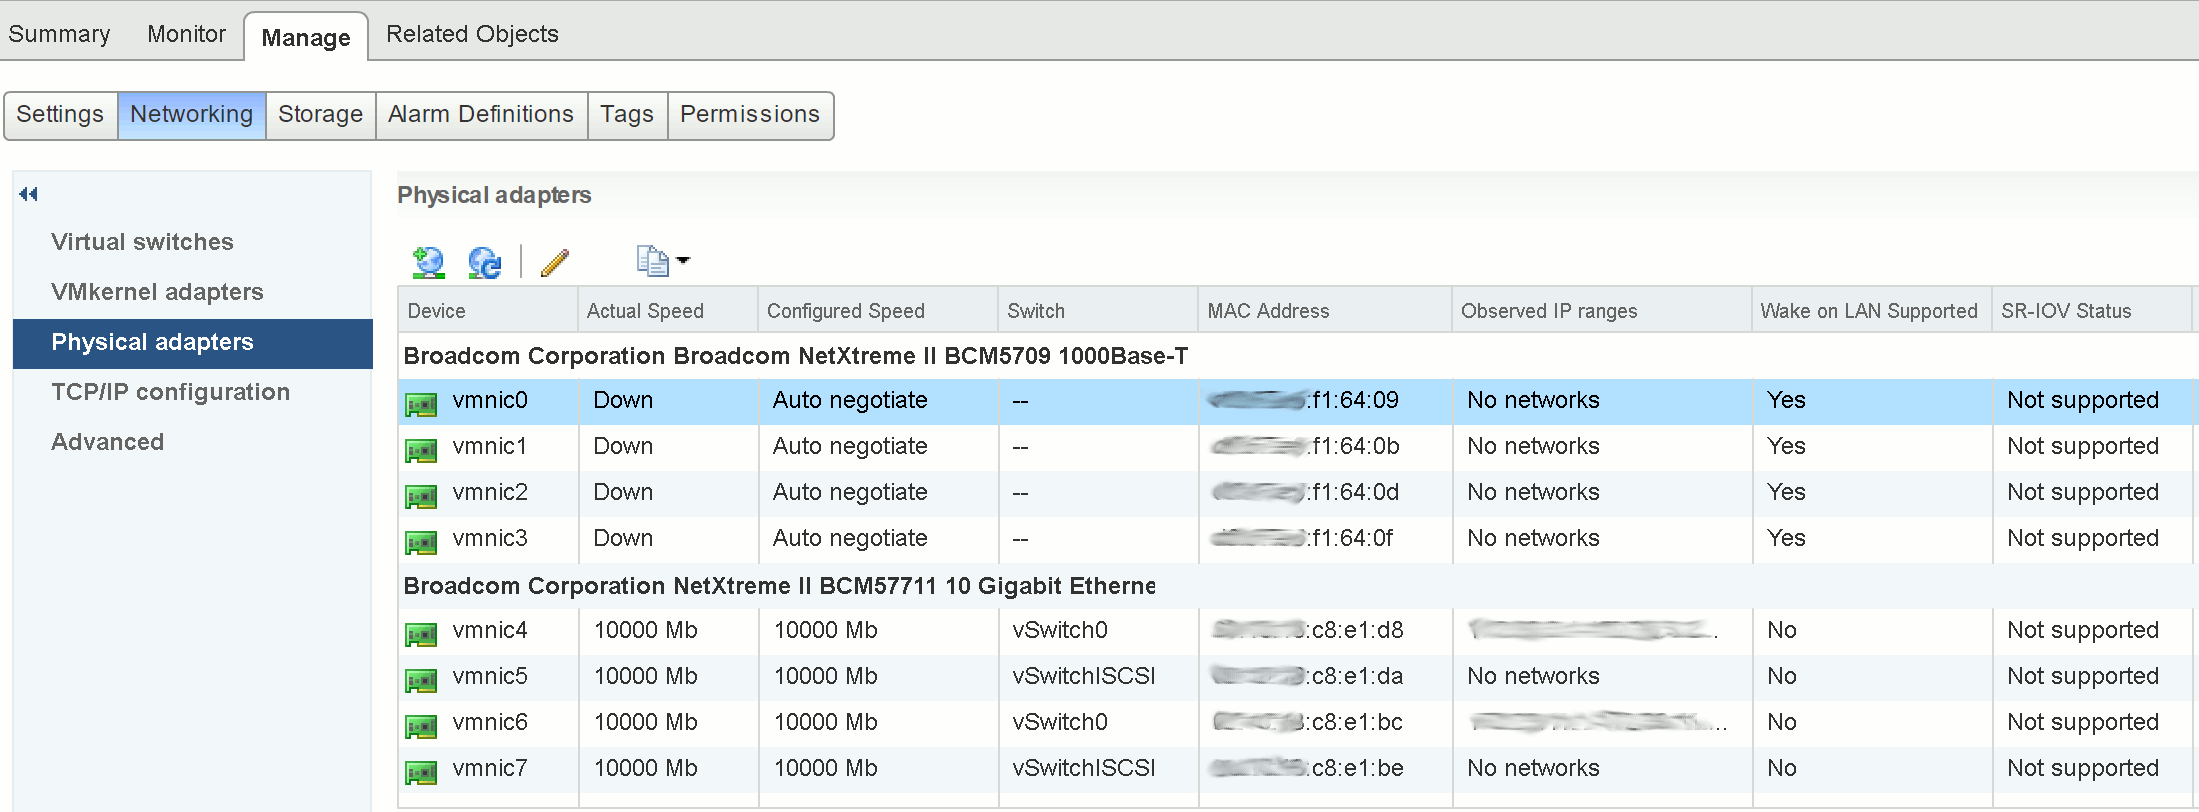
We are specifically interested in the ‘RO Owner’, which (in the below example) shows both the lock itself and the MAC address of the offending ESXi host (in this example, ending ‘f1:64:09’).
The MAC address shown in the above output can be used to identify the ESXi host via vSphere.
Resolve the Locked VMDKs and Consolidate the Disks
Now the host has been identified, place in Maintenance Mode and restart the Management Agent/host daemon service (hostd) via the below command.
/etc/init.d/hostd restart
Following a successful restart of the hostd service, re-run the snapshot consolidation. This should now complete without any further errors and, once complete, any underlying datastore capacity issues (such as in my case) should be cleared.
For more information, an official VMware KB is available by clicking here.




Leave a Reply