Deploying ‘Lab-Friendly’ NSX Controllers
You don’t have to have an enterprise-grade lab environment to run VMware NSX Data Center for vSphere. For those who neither wish to house half a rack of servers, storage, and enterprise networking kit at home, nor wish to incur the wrath of their energy company for the privilege, a single desktop/laptop with appropriate compute and storage is more than capable of handling NSX.
However, there are obvious limitations to this style of lab environment and, as you’re reading this, I’m guessing you’ve been unable to deploy an NSX Controller (likely due to its CPU requirements). By default, NSX Controllers are deployed with 4 vCPU and 4 GB memory. This is likely too high a requirement to be accommodated in smaller lab environments and, as a result, NSX Controller deployments will fail.

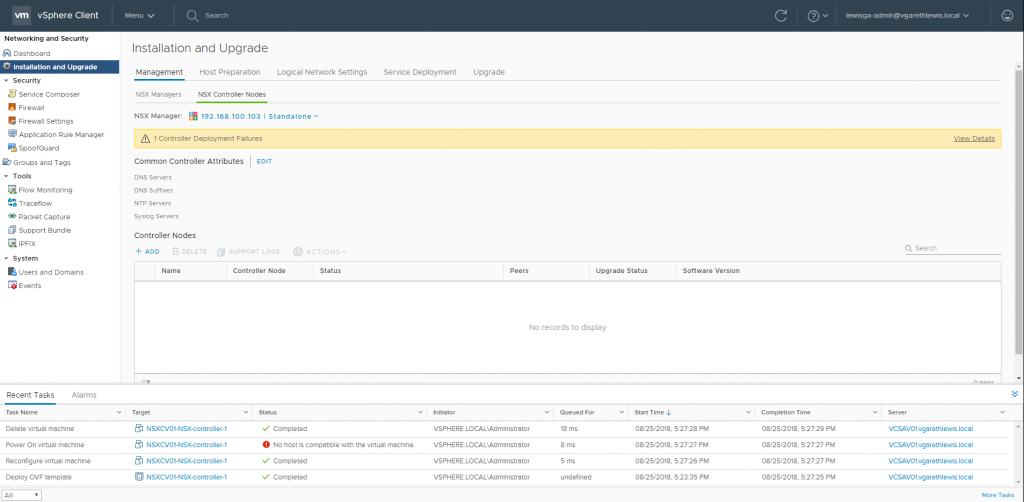
Challenge – We are unable to specify NSX Controller resources during their deployment via UI. As NSX Controllers are also Protected VMs, we are unable to alter their resources via UI after the template is deployed and before it is deleted due to the error ‘No host is compatible with the virtual machine’.
Solution – We will a) remove the lock from the protected NSX Controller, and b) apply a more ‘lab-friendly’ resource configuration to the NSX Controller via PowerCLI.
Okay, so I’m guessing you’ve already attempted to deploy an NSX Controller. No problem, we just need to identify the failed entity’s Managed Object Reference ID (moRef ID). For more information, see my previous post regarding moRef IDs.
vCenter is quite predictable in that all newly created entities are assigned moRef IDs incrementally. Identifying the moRef ID of the previously failed NSX Controller (Stage 1) will allow us to delete the next moRef ID (which will remove the Protected VM lock) and, subsequently, enable us to reconfigure the NSX Controller’s resources via PowerCLI before the VM is powered on (Stage 2).
Please note, as stated in my previous post, VMware do not support or recommend this procedure in any way. As such, this procedure should not be implemented in a production environment.
Stage 1 – Identify Failed NSX Controller moRef ID
1. Connect to your vCenter Server via SSH.
2. Enable and enter Bash.
shell.set --enable True
shell
3. Connect to the vCenter Postgres Database via PSQL.
/opt/vmware/vpostgres/current/bin/psql -U postgres
4. Connect to the VCDB.
\connect VCDB
5. Identify and note the moRef ID of the failed NSX Controller. In my case, this is ‘vm-41’ (see below screenshot).
select * from VPX_DISABLED_METHODS;

Stage 2 – Remove Future NSX Controller Protected VM Lock and Reconfigure VM Resource via PowerCLI
Identification done, we now need to prepare for the next stage – the deployment of a new NSX Controller, the removal of the Protected VM lock via SSH, and the reconfiguration of its resources via PowerCLI.
For this we’ll need to setup two commands in readiness, both of which must be run at specific stages of the NSX Controller ‘Deploy OVF template’ task.
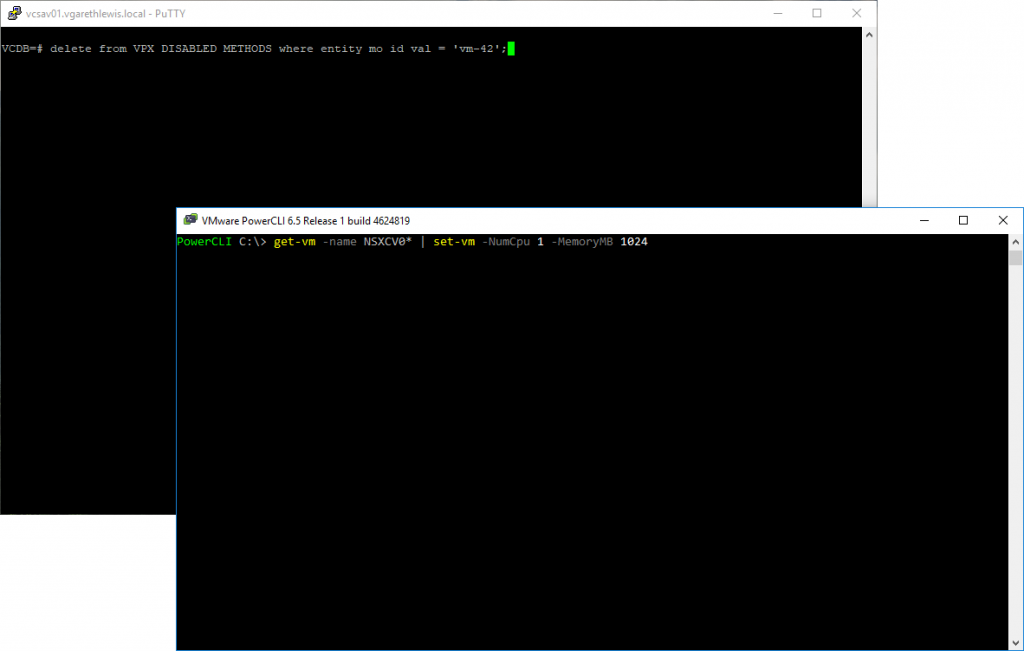
1. Remove Protected VM Lock via SSH – Jump back into your previous SSH session and ready the below command (but don’t run it yet), configured with the ‘next in line’ moRef ID (in my case ‘vm-42’). This will remove the Protected VM lock at the end of the OVF template deployment, and will allow PowerCLI to jump in and reconfigure the VM just before it is powered on.
delete from VPX_DISABLED_METHODS where entity_mo_id_val = 'vm-42';
2. Reconfigure NSX Controller Resources via PowerCLI – Launch PowerCLI, connect to your VCSA, and ready the below command (but don’t run it yet). This is the NSX Controller resource configuration change. For my lab environment, 1x vCPU and 1 GB of memory is fine. Note, ‘NSXCV0’ is the start of my NSX Controller name. Configure yours accordingly.
Get-VM -Name NSXCV0* | Set-VM -NumCPU 1 -MemoryMB 1024
3. With both commands prepared, do not run them yet. They will be run AFTER the NSX Controller deployment has started.

4. Jump back into your vSphere Client and create a new NSX Controller.
5. At specific stages of the Deploy OVF Template task, run the prepared commands detailed above.
- ~60% – Reconfigure NSX Controller Resources via PowerCLI. This will queue until it’s able to run (e.g. – following the removal of the Protected VM lock).
- ~98% – Remove Protected VM Lock via SSH. Run this command repeatedly from 98%, and until you receive the ‘DELETE 1’ feedback. Don’t hold back on this step! Repeat the command as you would mash your keyboard to enter BIOS.
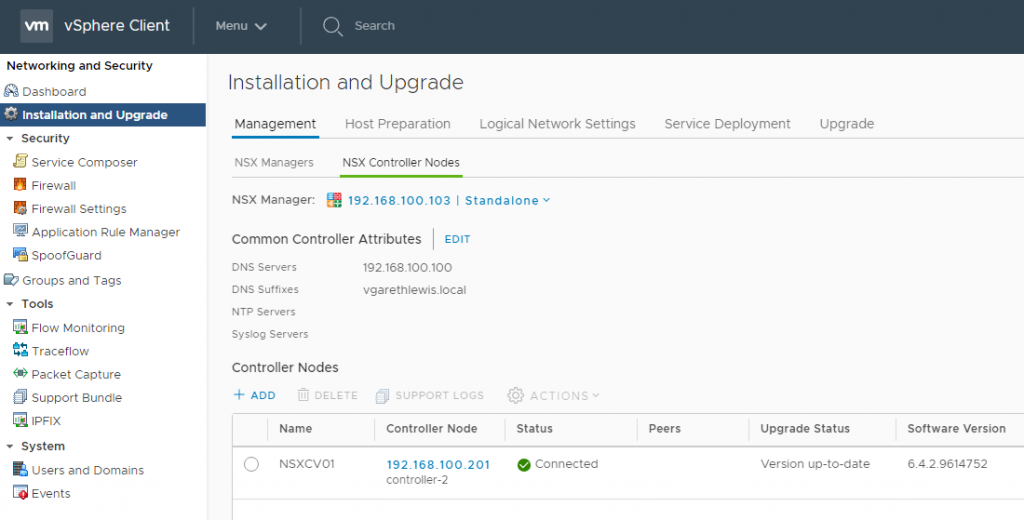
And, hey presto! From the below screenshots we can see the Protected VM lock has been removed successfully, allowing the PowerCLI command to complete, resulting in a reconfigured NSX Controller.


Via the vSphere Client, we can see the Deploy OVF template, Reconfigure virtual machine, and Power On virtual machine tasks were able to complete successfully.
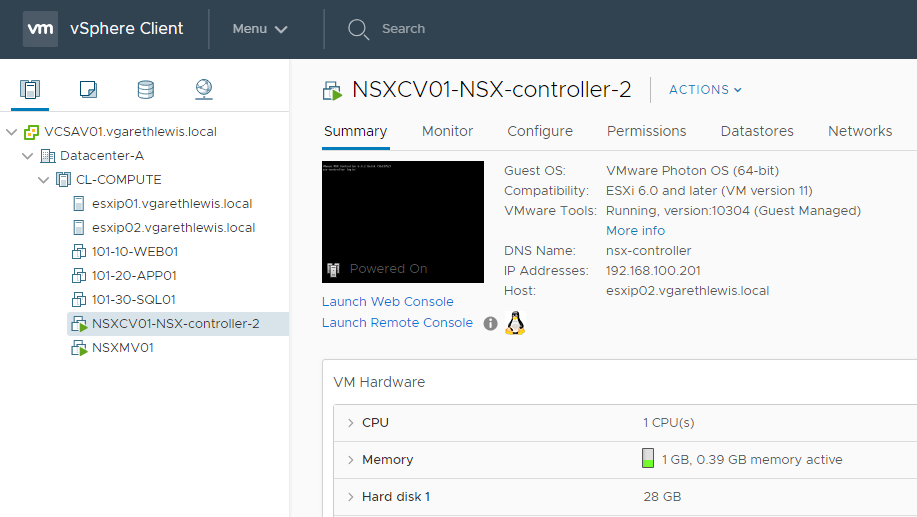
And below, our shiny, new, ‘lab-friendly’ NSX Controller.


References
During my research for this article, I came across to below guides, without which, the above would not have been possible. Props.


