VMware vCNS 5.5.4 to NSX 6.2.5 Upgrade
I’m a fan of upgrades that ‘just work’, but rarely do they run without a few unforeseens jumping out at you. Reading the VMware Upgrading VMware vCNS 5.5.x to NSX 6.2.x (2144620), I was surprised to see just five upgrade areas. Five? Really?? As this is a business critical system (and one with the potential of being able to turn a long day into an even longer day were things to go awry), I was a little sceptical, however, the vCNS to NSX upgrade process really is that easy.
VMware recommend the below implementation path when upgrading to NSX from vCNS, and if you’re not utilising any advanced features such as the vCNS Edges, you can cut this process down to just the first three steps.
- vCNS/NSX Manager
- Host Clusters and Virtual switches/wires
- vShield App (replaced by NSX Distributed Firewall)
- vShield Edge
- vShield Endpoint
Stick with me, I know you think I’m lying…
Scenario
So, a requirement exists whereby I need to replace a VMware vCNS 5.5.4 environment with VMware NSX 6.2.5 due to the former going end-of-life in Q4 2016. As I see it, I have two options; a) install NSX and migrate the vCNS workload to the new compute hardware, or b) upgrade vCNS in-place. As there aren’t any spare hosts lying around, the option will see us progressing with the in-place upgrade.
Note, configuration of NSX, as well as integration with AD Security Groups, will be covered in a future post.
Prerequisites
Okay, so there are some prerequisites (when would there not be?) Before initiating the upgrade process, you will need to ensure the below checklist has been completed:
- Physical network must be configured with a minimum MTU of 1600 due to the VXLAN overlay.
- As the NSX vSwitch is based upon vSphere Distributed Switches (vDS), if you’re currently running standard virtual switches, you’ll need to migrate to vDS first.
- Your backups have run successfully
- Snapshots of both vCenter and vCNS Manager have been taken
- vCNS Manager – e1000 network adapter replaced with a VMXNET3 adapter
- vCNS Manager – configured with at least 16GB RAM
- vCNS Manager – Tech Support Bundle created
- Download the relevant vCNS to NSX Upgrade Bundle
Upgrade vCNS 5.5.4 to NSX 6.2.5
1. First of all, we will need to download the Upgrade Bundle from VMware. Login to your MyVMware account and download.
2. Next, log into vCNS Manager, and browse to Settings & Reports > Updates.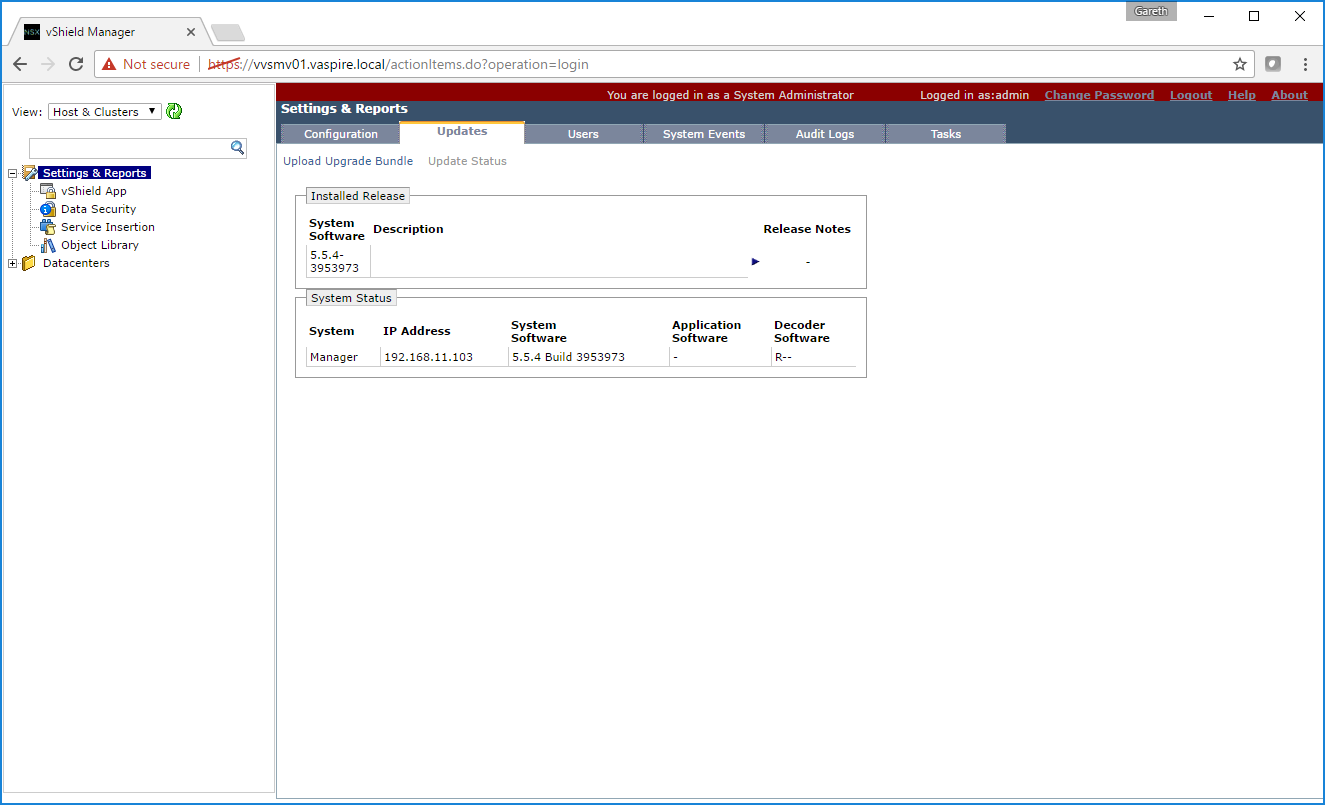
3. Click Upload Upgrade Bundle, and upload the bundle we downloaded in Step 1.
4. Once uploaded, review the version details, and click Install.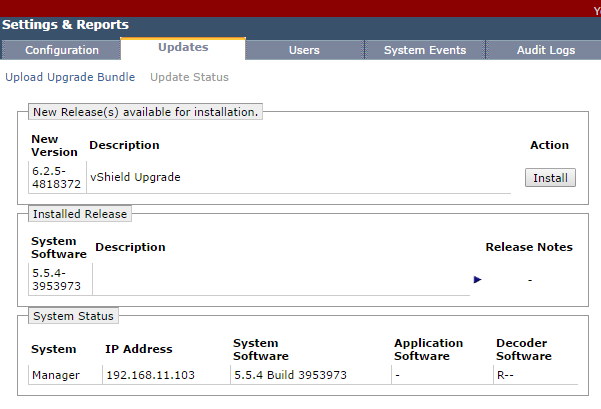
5. When requested, click Confirm Install, and monitor the progress as per the below screenshots.
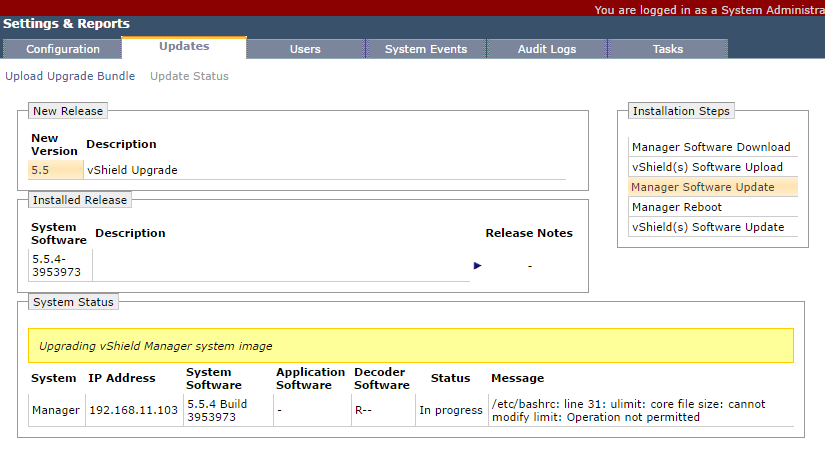
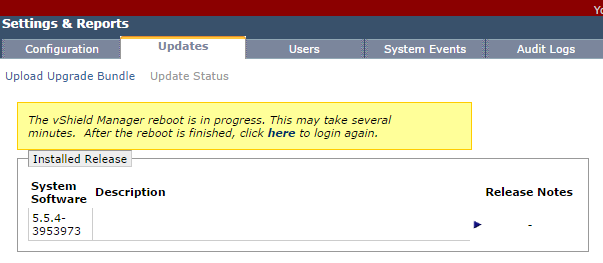
6. Monitor the reboot process via the appliance’s console and, once complete, we can proceed.
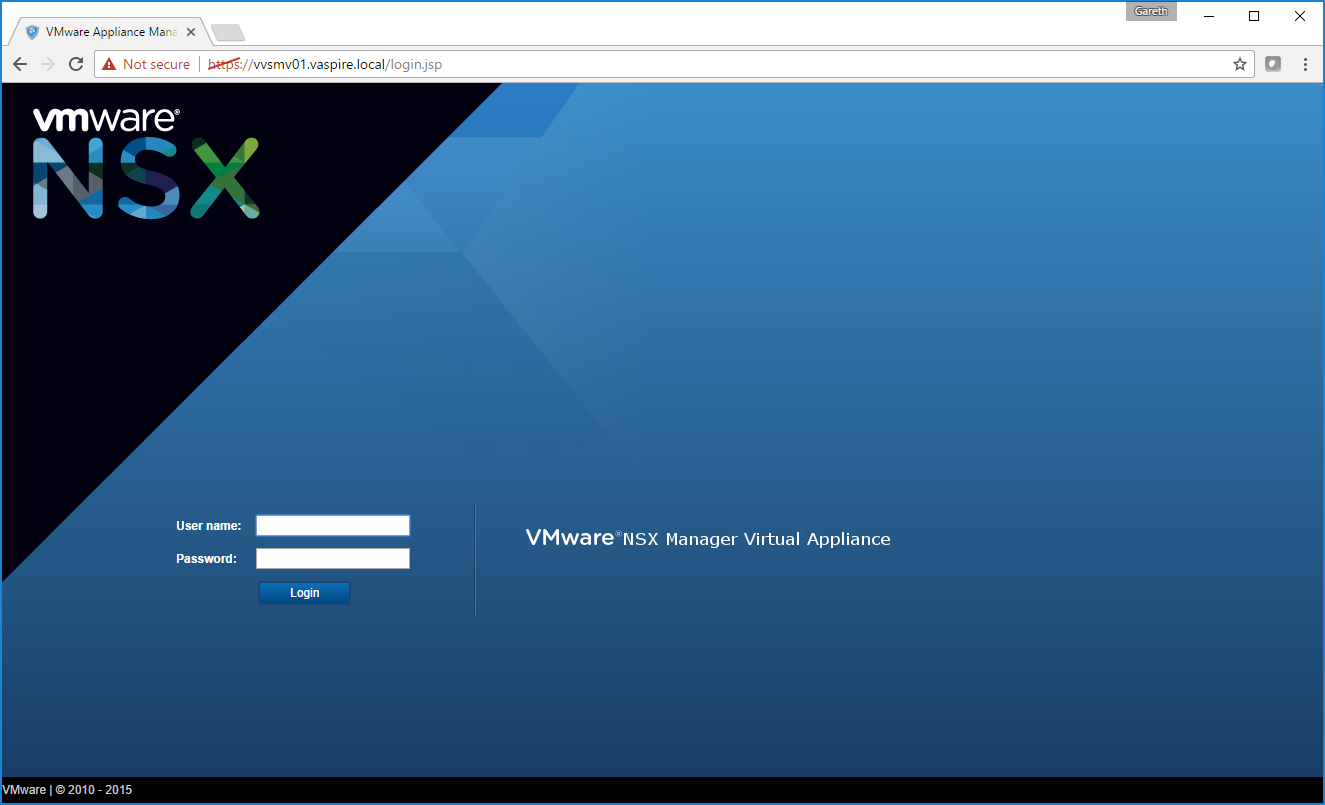
7. Following the reboot, browse to the previous vCNS Manager FQDN (https://server_name.domain.local), and you will be presented with the new NSX Manager. Note, the default admin credentials will have changed as part of the upgrade process:
- Username – admin
- Password – default
8. Login using the new credentials and ensure the NSX Management Service is running before proceeding. Note, this is a lab environment, hence the 4GB RAM.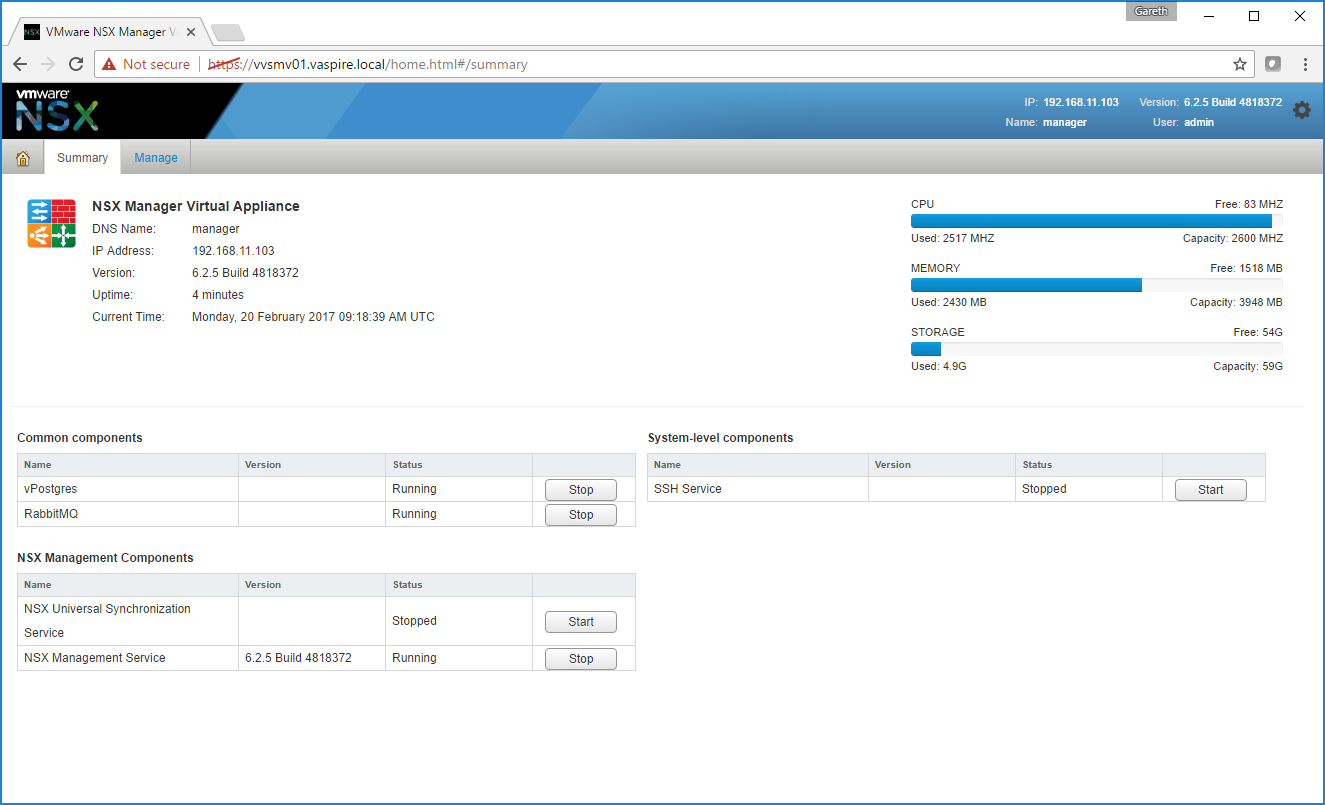
9. Browse to Manage > NSX Management Service. In the Lookup Server URL section, configure by clicking Edit.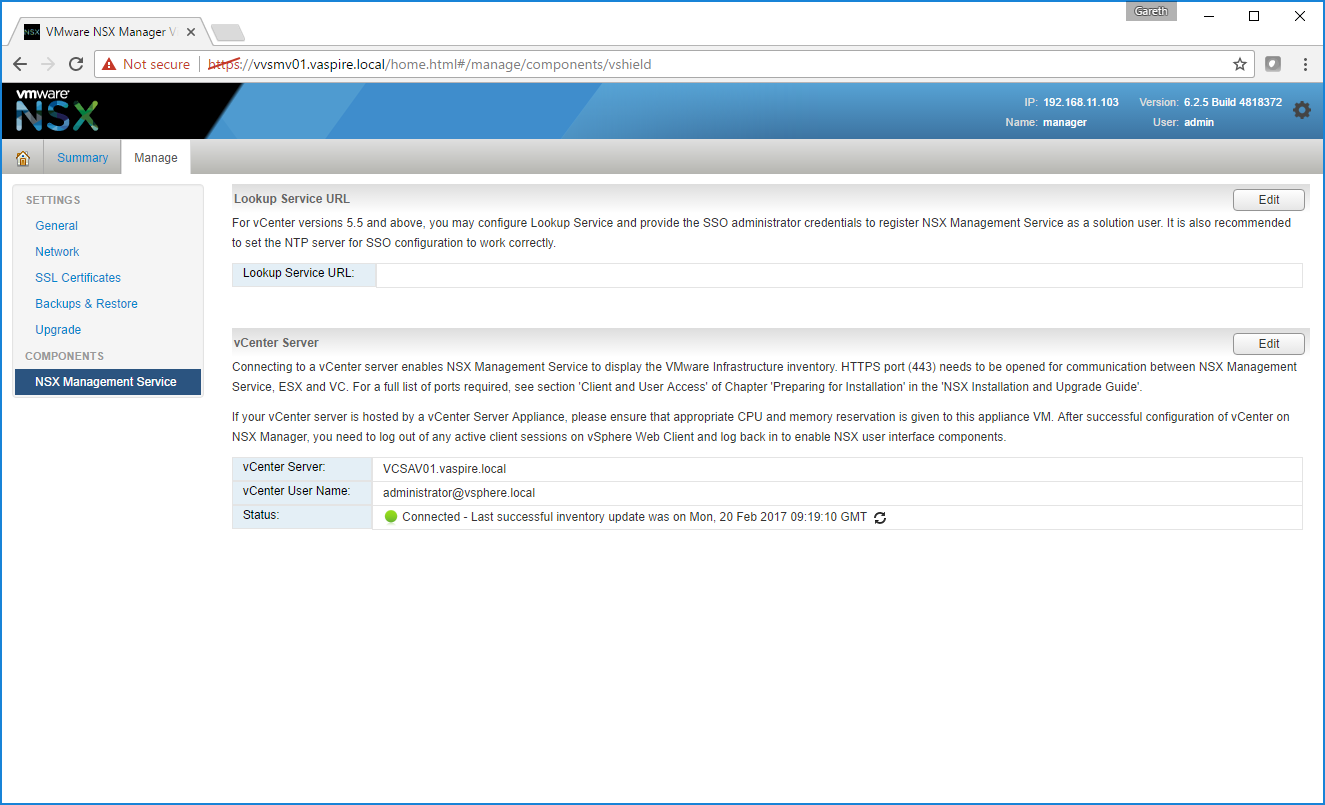
10. For this lab environment, I am configuring the lookup service to utilise vSphere SSO which, in this instance, integrates with my vCenter Server.
11. When prompted, accept the SSL certificate.
12. Ensure the Status for both Lookup Server URL and vCenter Server shows Connected. 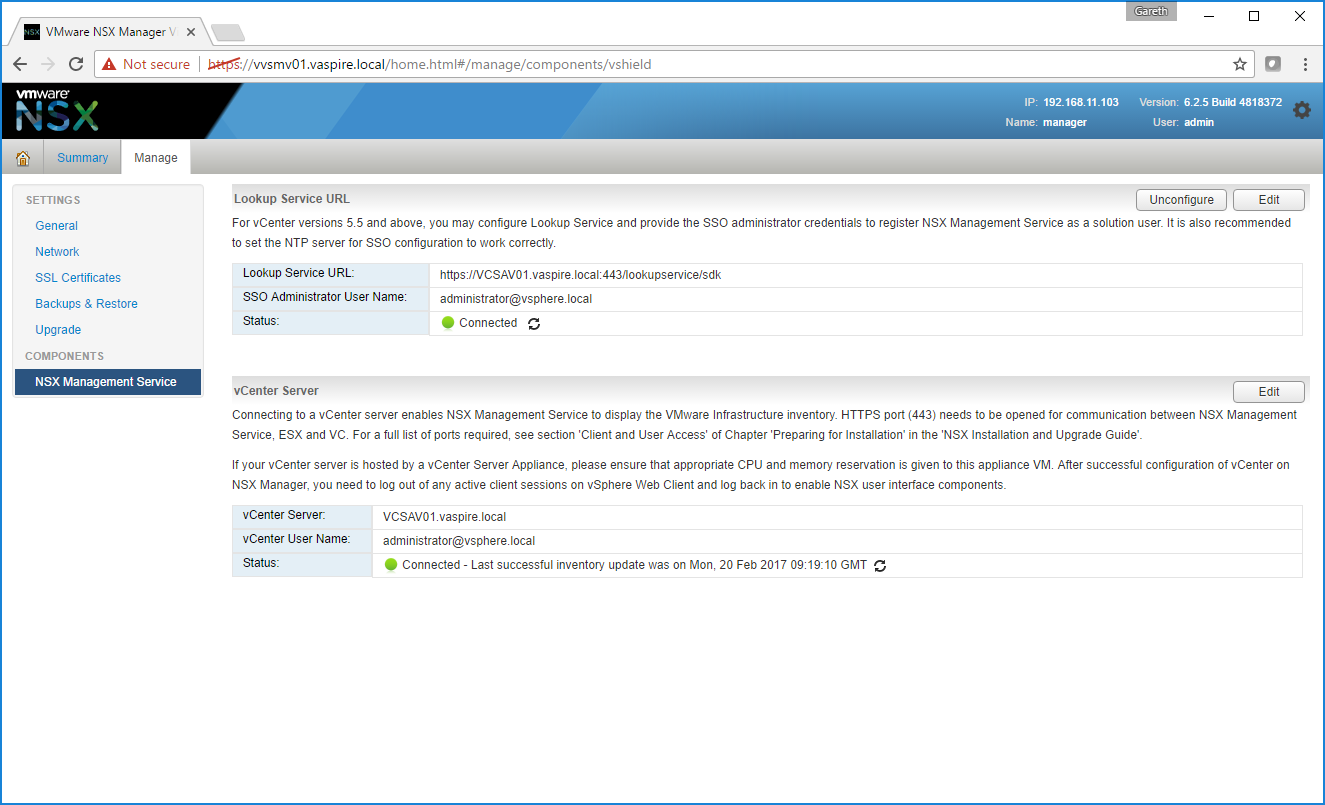
13. After logging in to the vSphere Web Client as administrator@vsphere.local (we’ll configure NSX users and groups via Active Directory in a later post), you’ll now be able to see the new Networking & Security tab.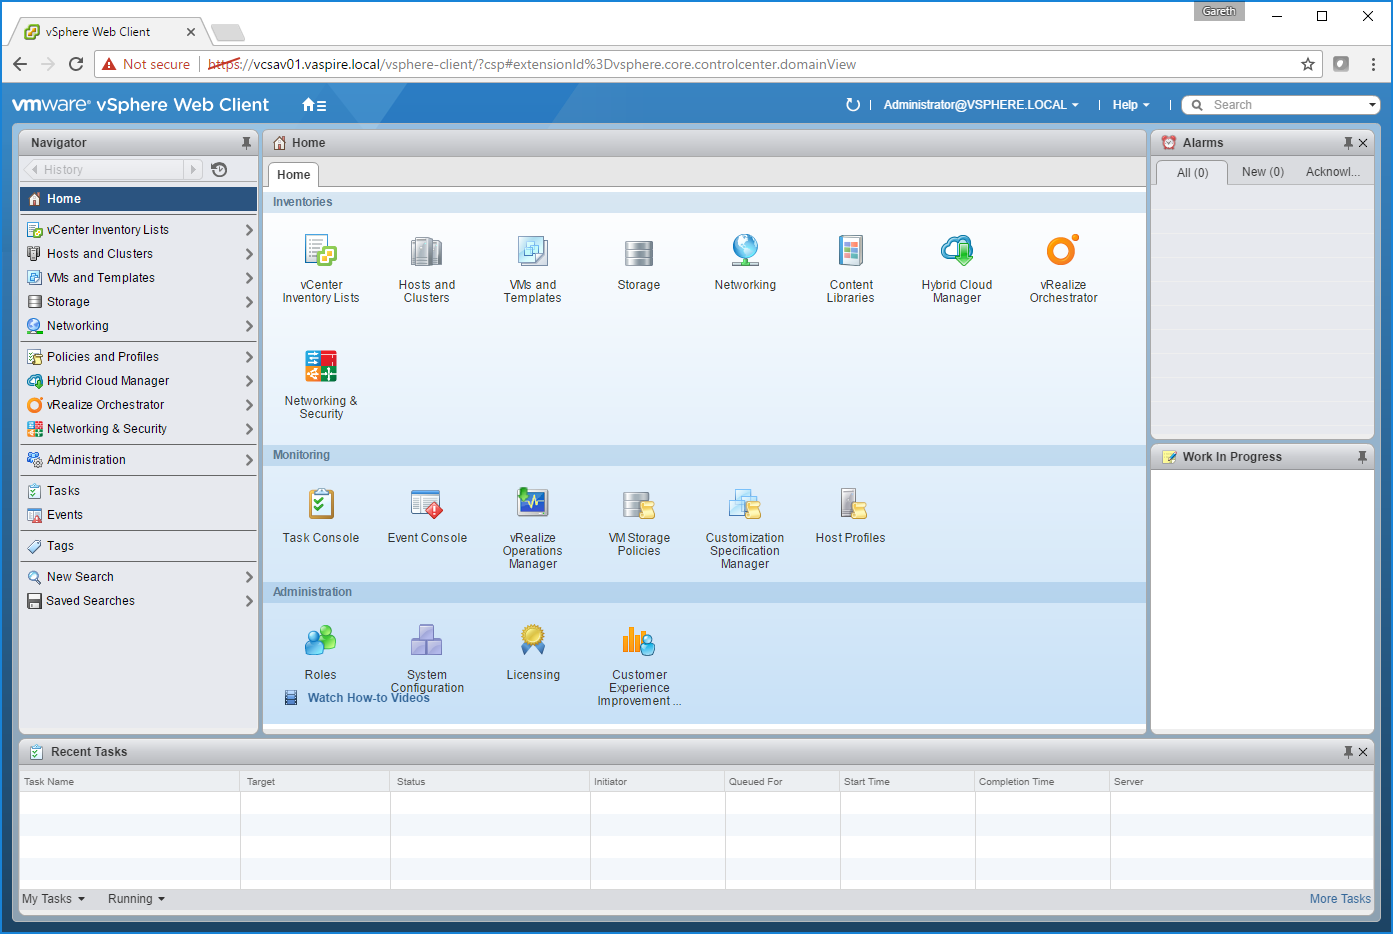
14. As this procedure details the upgrade process of vCNS to NSX, browsing to Networking & Security > Firewall, you will happily see that all vCNS Firewall rules have been retained.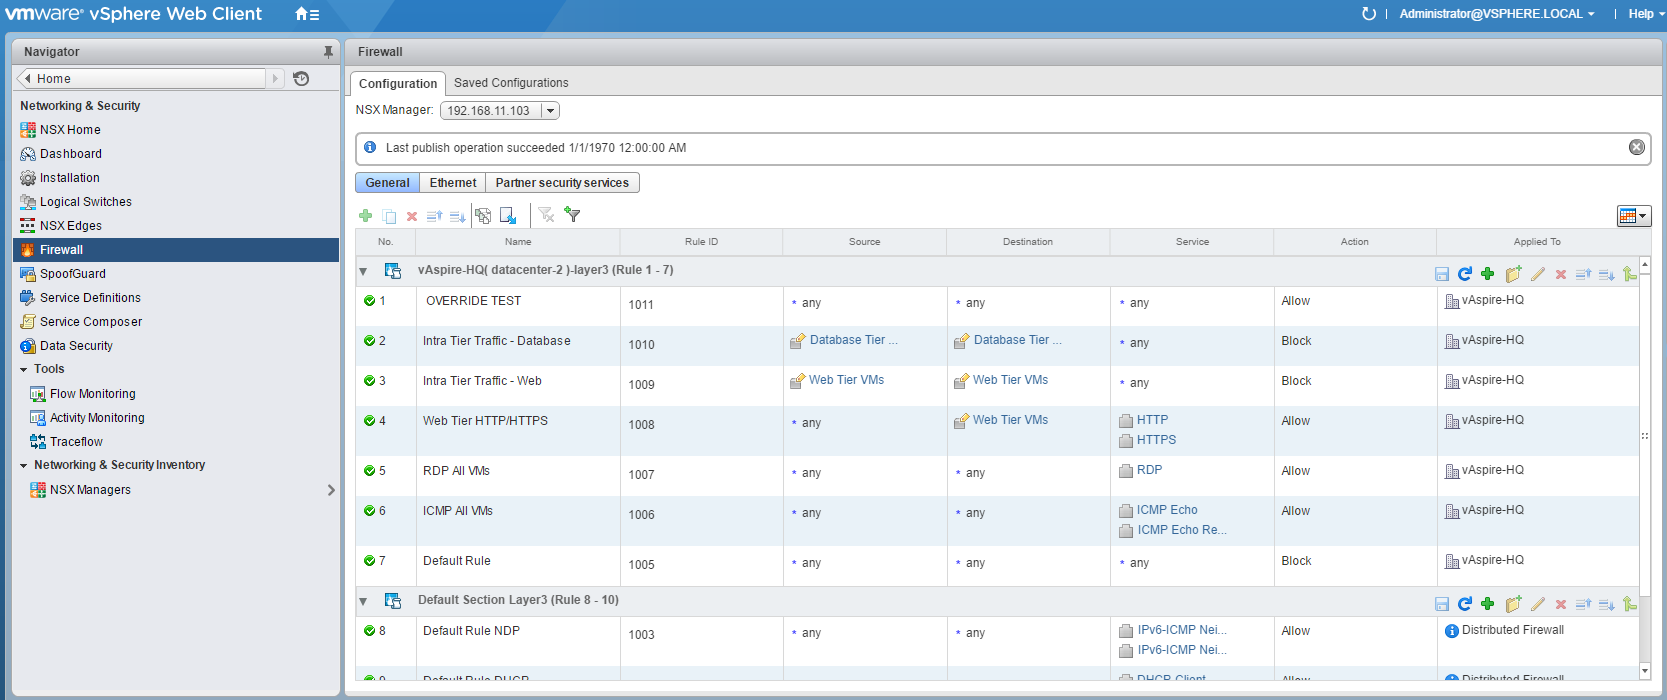
At this point we will need to apply licensing, upgrade the ESXi host VIBs, and upgrade the vCNS Firewall to the new NSX Distributed Firewall. Until this takes place, any/all firewall amendments will not be seen by the ESXi hosts.
Licensing
1. Using the vSphere Web Client, browse to Administration > Licensing > Licenses, click Add (+).
2. When prompted, enter your license keys, and click Next. 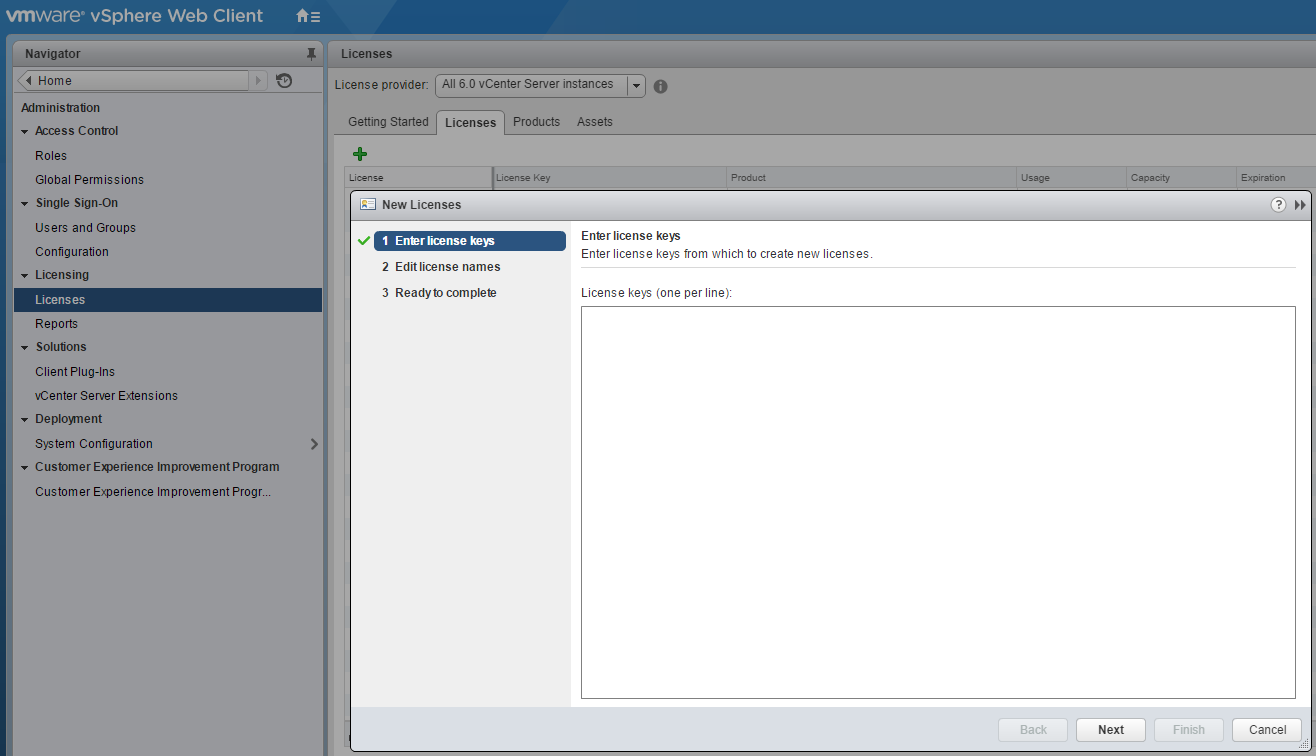
3. Confirm your license key information, amend the names where required, click Next.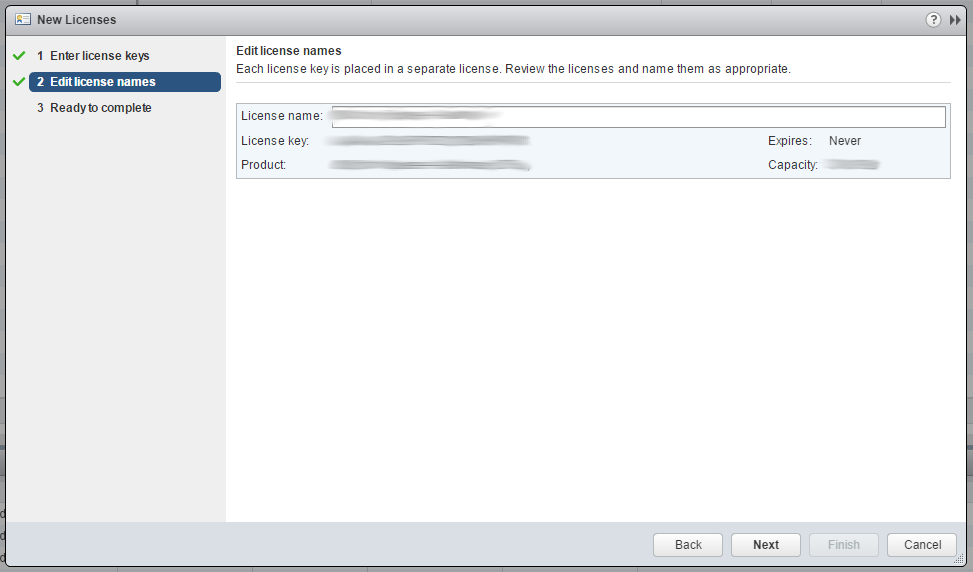
4. Review your license information and click Finish.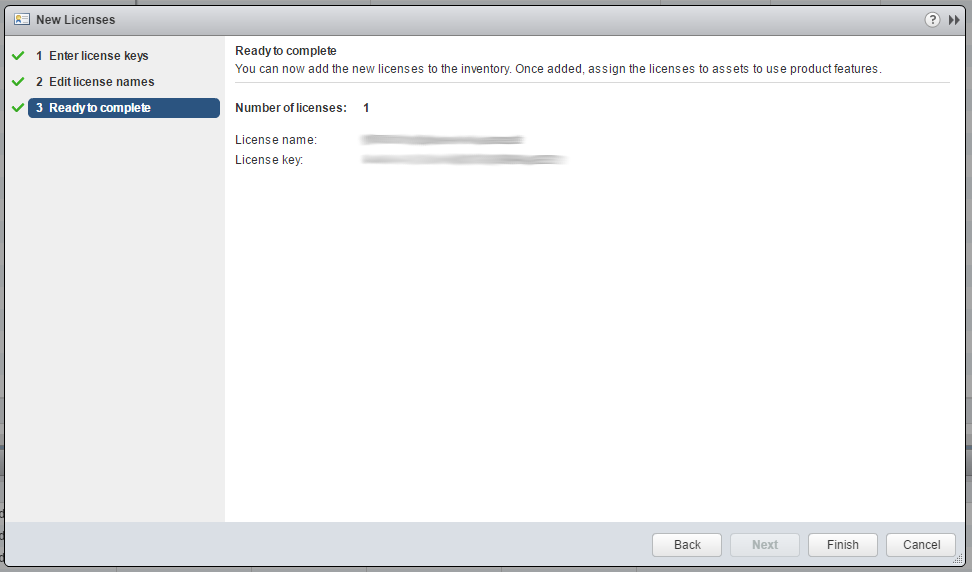
5. Browse to Administration > Licenses > Assets > Solutions, and assign the new license by clicking the Assign icon.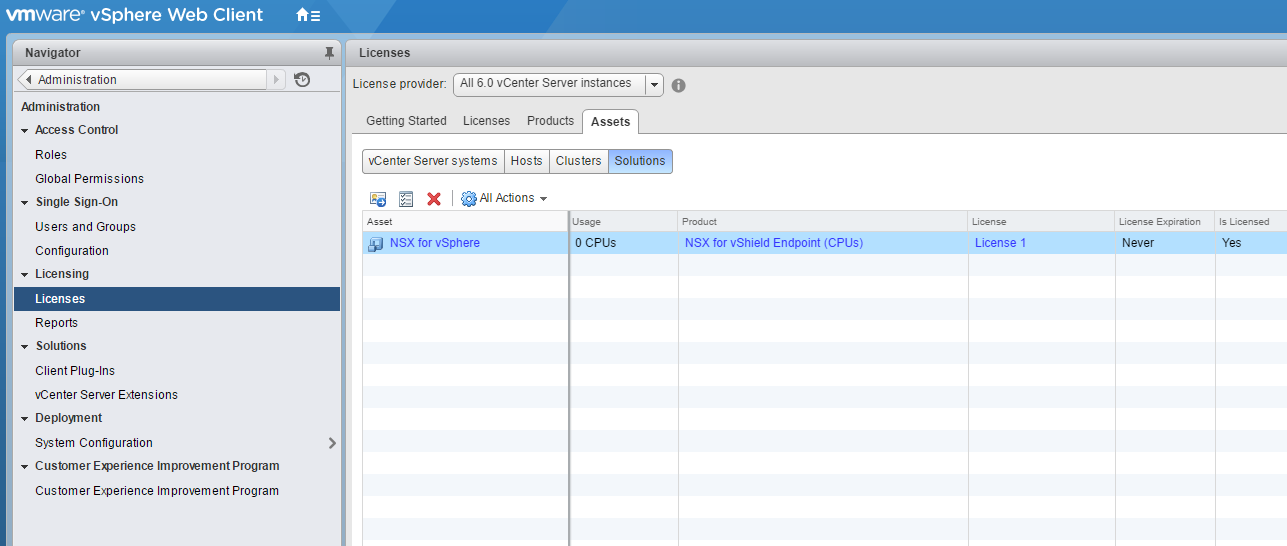
6. Select the newly added license, and click OK.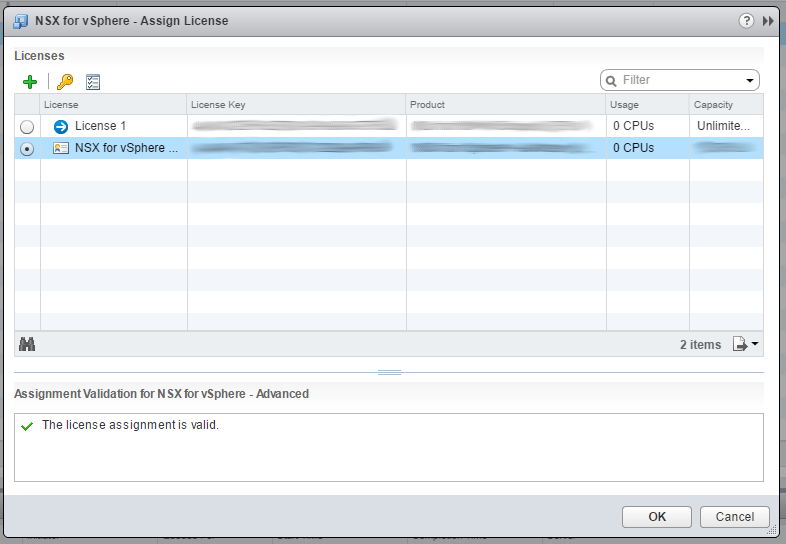
Host Preparation
1. Browse to Networking & Security > Installation > Host Preparation.
2. Select the cluster you wish to upgrade, and click Actions > Upgrade.
3. As part of the upgrade process, note the below tasks as hosts and VMs are reconfigured.
4. Once the Host Preparation is complete, you will be requested to finalise the upgrade from vShield App Firewall to NSX Distributed Firewall. When prompted, click Upgrade.
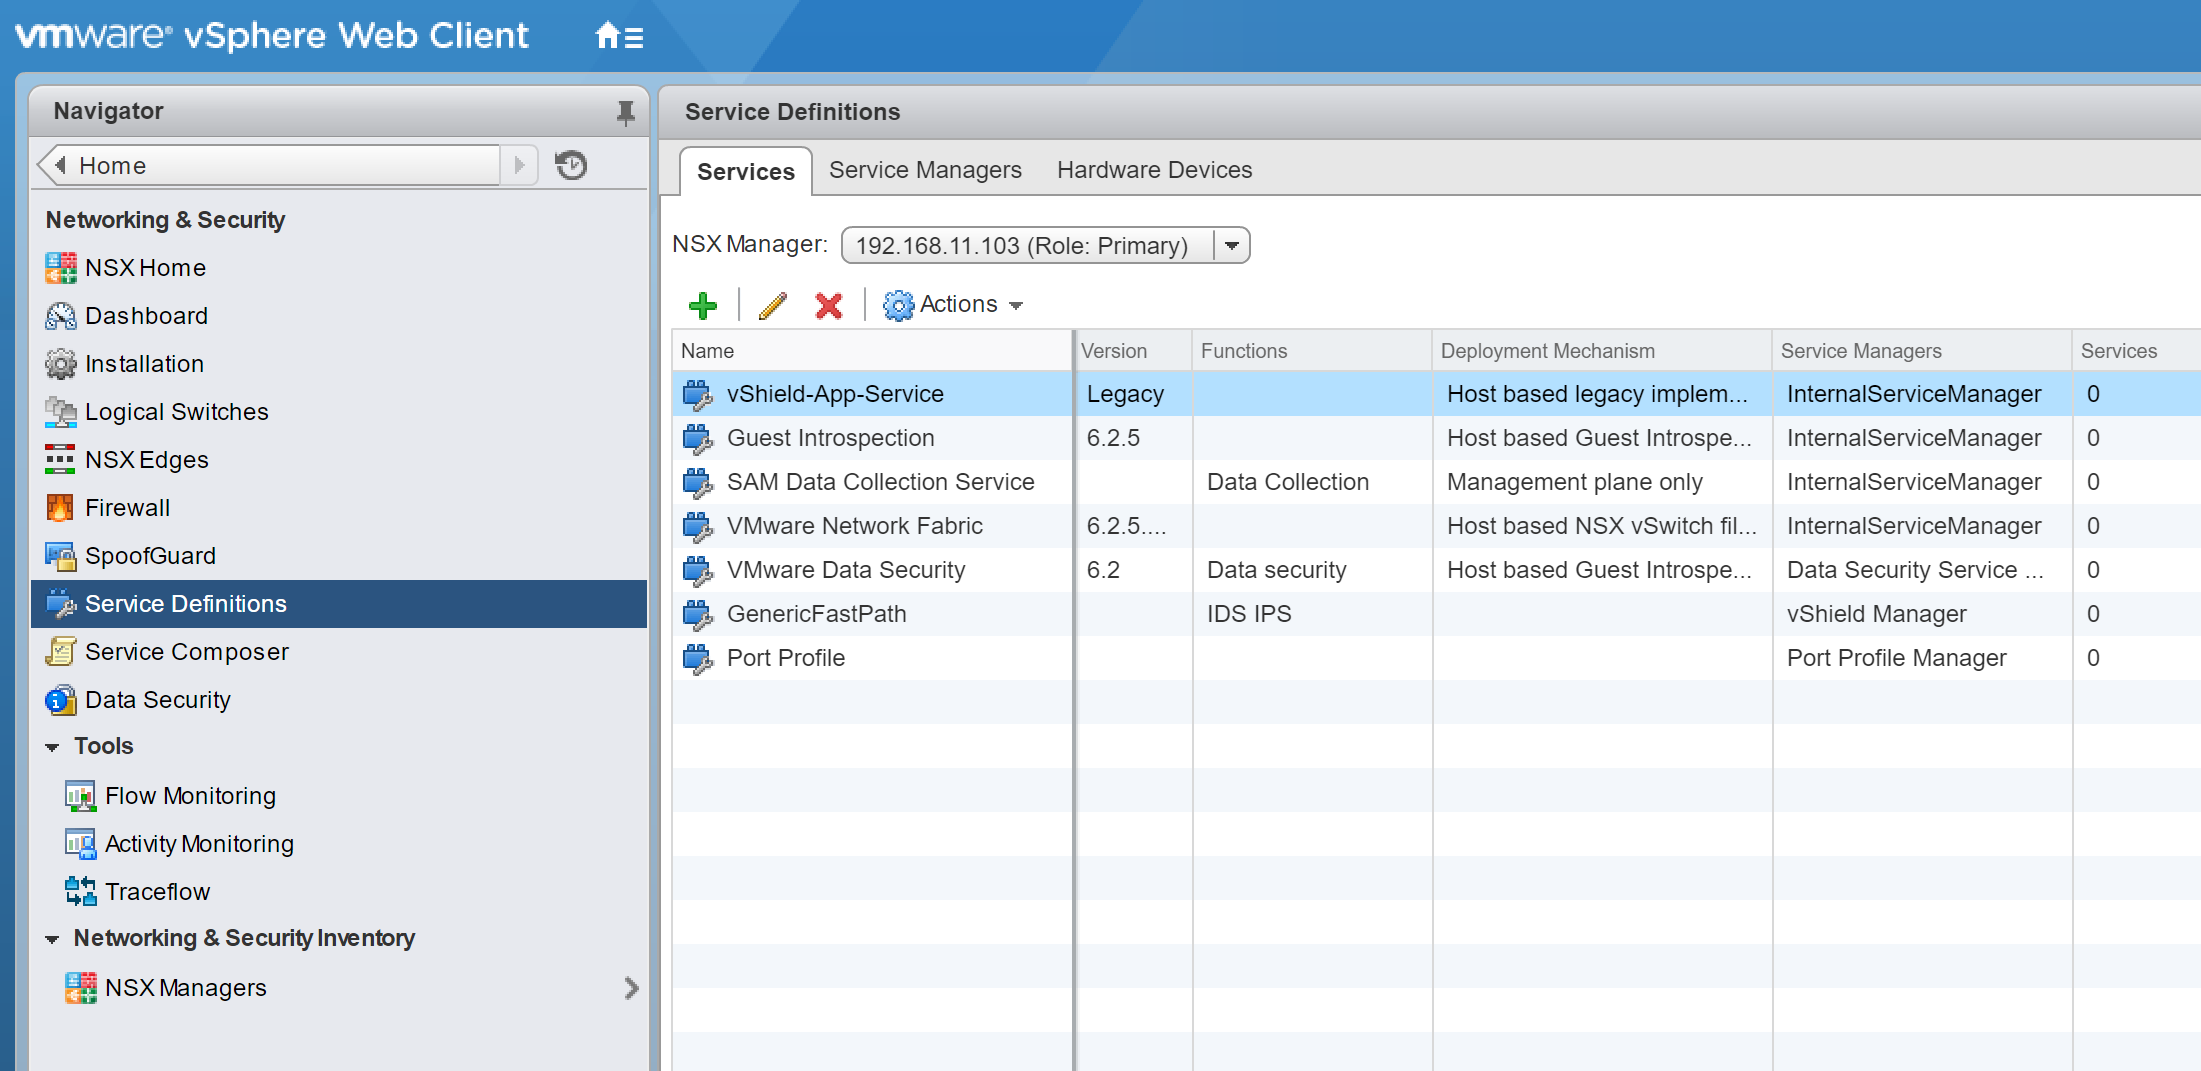
5. After the migration has finished, browse to Networking & Security > Service Definitions, and remove the now legacy vShield-App-Service.
6. If you have any Edges in play, simply browse to NSX Edges, right-click the Edge in question, and choose Upgrade Version.
This concludes the upgrade of VMware vCloud Networking & Security 5.5.4 to VMware NSX 6.2.5. In a future post, we will cover the configuration of NSX itself, as well as the management of NSX via AD Groups.

